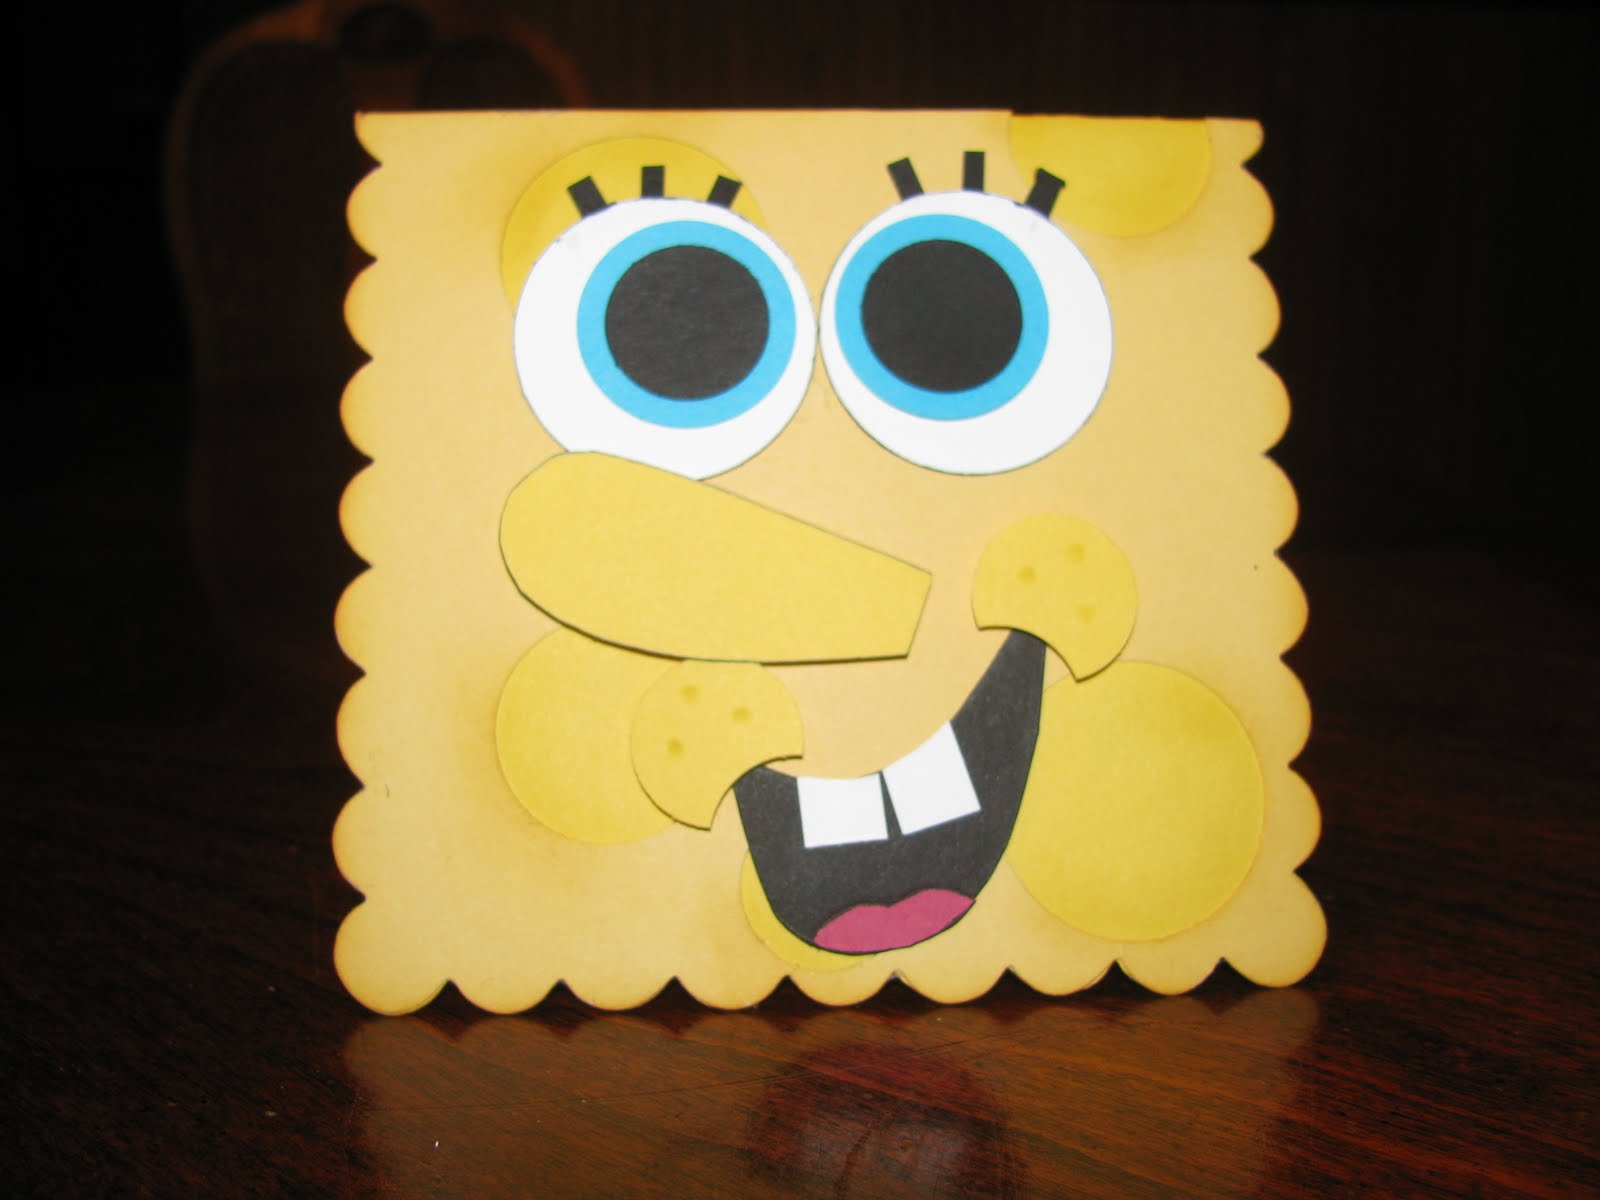
I made this for my husbands birthday.
I wanted something simple but a bit MANly of course =).
Seen this done on a Christmas card and thought; how cute.
So here is how mine turned out. Super cute right* ;) !


I got the how to from "STAMPERS QUEST"
You will love casing this card over and over again.
Supplies: 4" x 12" cardstock of your choice,
ruler, pencil, bone folder, paper cutter (f0r scoring)
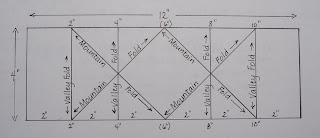 Directions: Working from top edge
1. Following the picture of the template above, make a small, light, pencil mark at center (6") and then score at 2", 4", 8", 10".
2. Score a diagonal line to the right from the 2" score mark down to the center (6") pencil mark.
3. Score a diagonal line to the right from the center (6") pencil mark down to the 10" score mark.
4. Score a diagonal line to the left from the center (6") pencil mark down to the 2" score mark.
5. Score a diagonal line to the left from the 10" score mark down to the center (6") pencil mark.
6. Using your bone folder for crisp lines, follow the template to see where to make the 'valley' and 'mountain' folds. When closed, the card is 4" x 4" and when open, it will stretch out, as you will see.
7. Decorate and embellish as you desire. The large triangle panels could be stamped, embellished, etc. The first one I made had a sentiment in the first triangle and my message in the last one. I only had a stamped image in the center of the card.

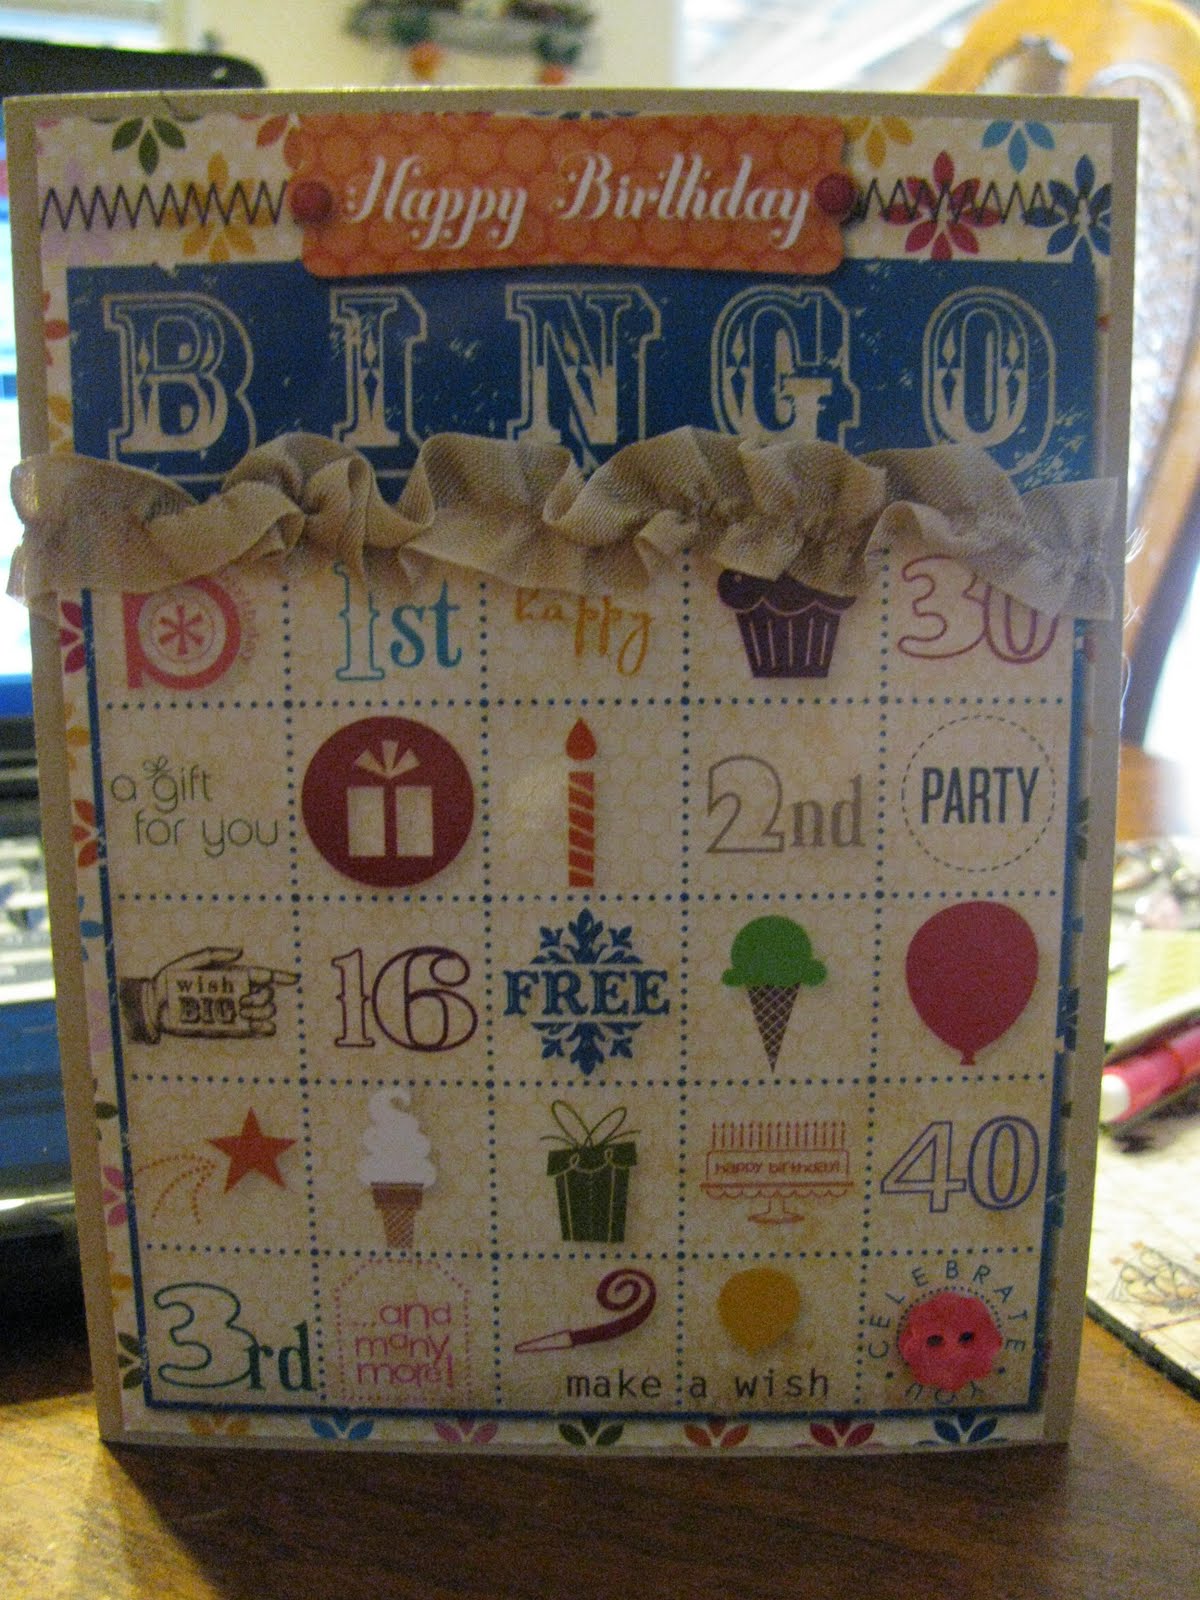
 Well I'm at it again. Except this time I am making my quilt squares to put into a shadow box. Here is March's square. I'm looking forward to starting another possible quilt if I choose to turn these squares into one in the end of the 12 months =). We will soon see.