
Select me as your demonstrator and lets start creating together.


 Backyard Basics Framelits Dies

|
|
Basics Glimmer Brads
Price:
$4.95
$3.71
|
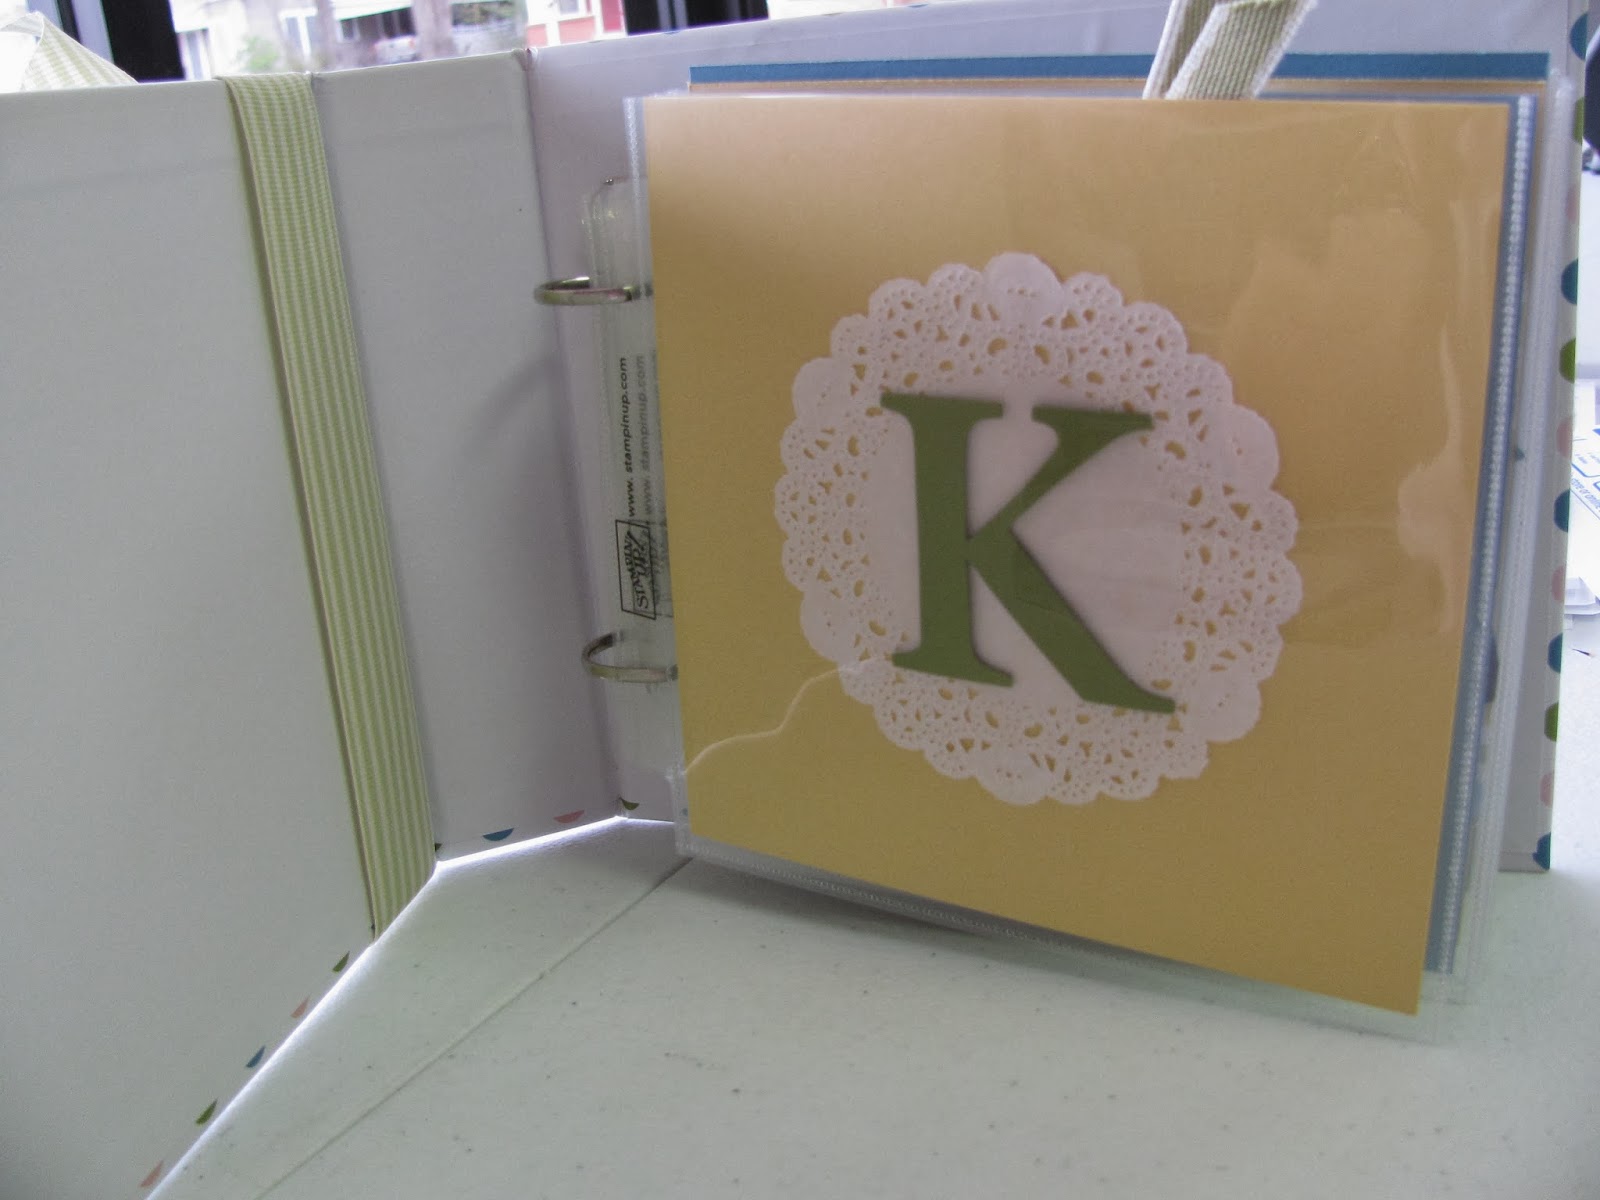
 Gold Metallic Encore Pad
 Paper Doily Sizzlits Die
 Primrose Petals 3/8" Stitched Satin Ribbon
 Season By Season Kit - Digital Download
 Summer Starfruit 3/8" Stitched Satin Ribbon


 |
| 1.) take a 12 X 12 sheet of cs n cut into four 6 X 6 squares; you will need three of the four squares |
 |
| 2.) each square should be scored at 3''(down center) and diagonal from one corner only |
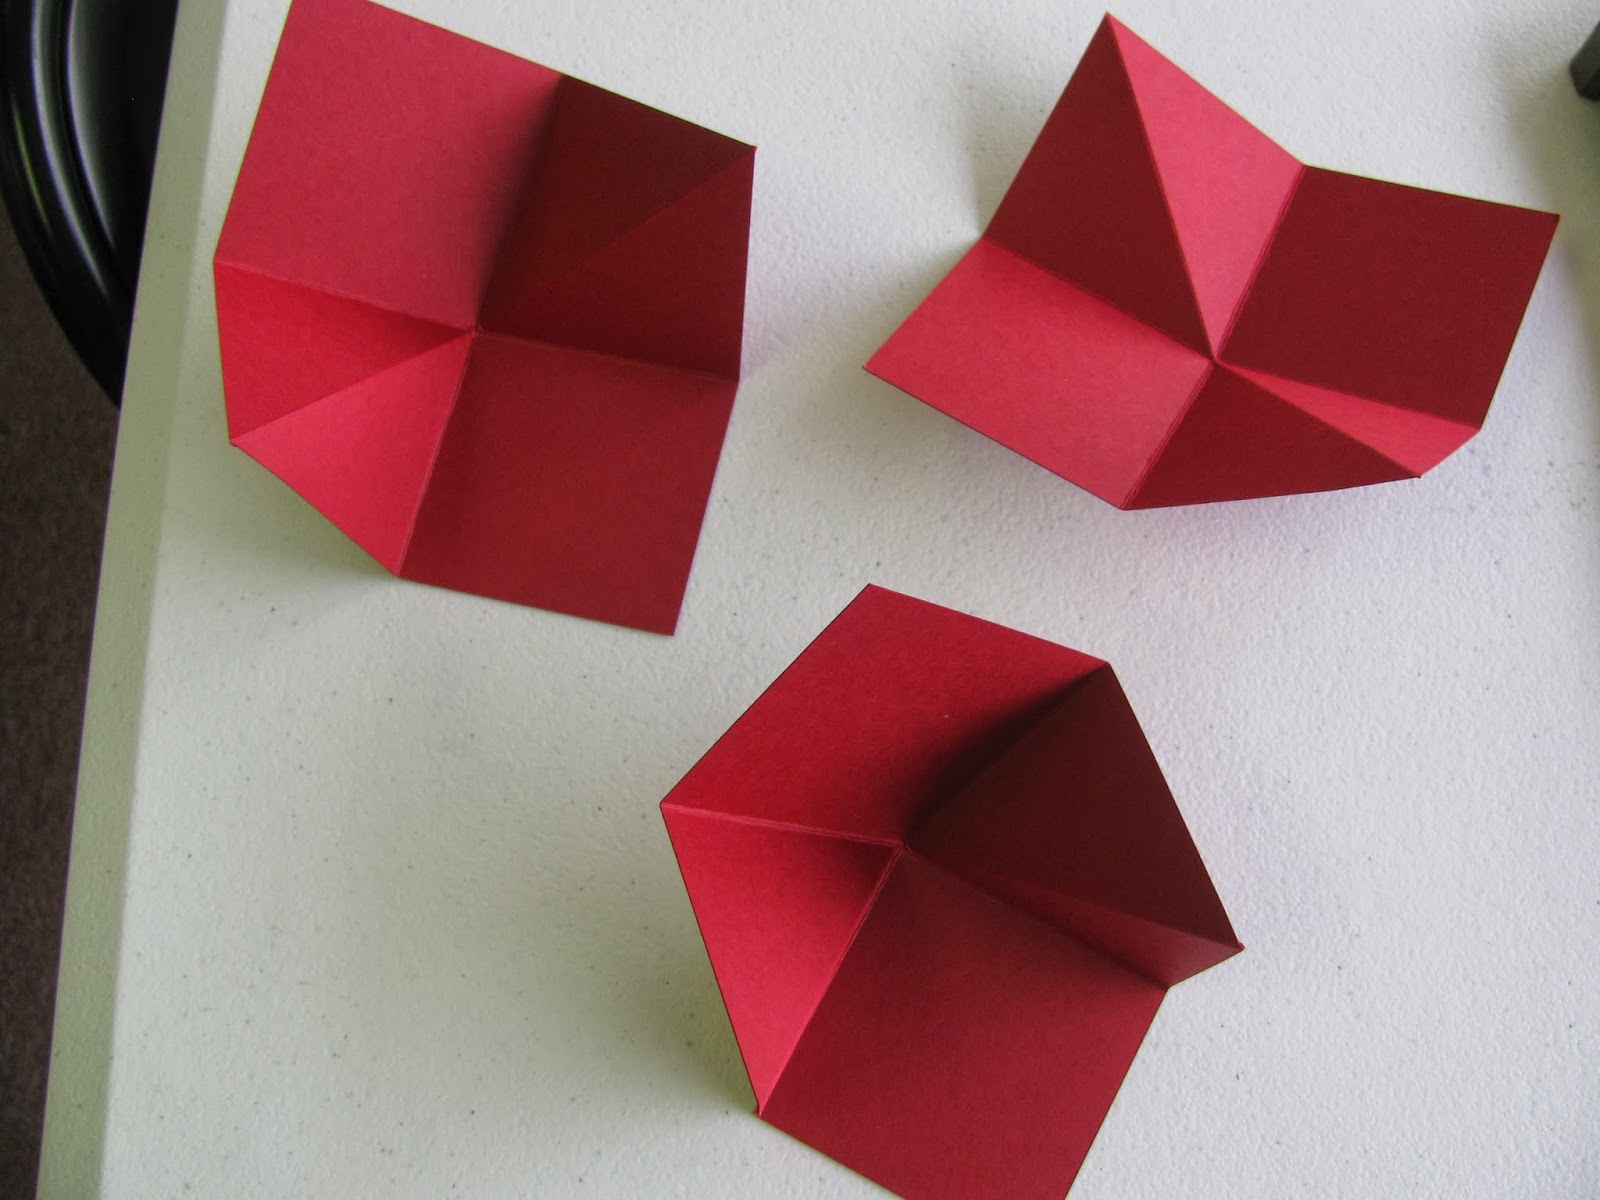 |
| 3.) fold all three of your score lines so they become bendable |
 |
| 4.) they should now look like this. Take your sticky strip and attach to back of your center piece only at the two center flaps and attach to the two outer pieces. |
 |
| 5.) For the out side before attaching my dsp i took my ribbon n got ready to attach underneath then applied the dsp layers. this way you are assured your ribbon isn't going any where. |


|
|
|
|
||||||||
|
|
|
|


