Tuesday, September 27, 2011

HaPpY BiRtHdAy Bonanza (lol)


Happy Birthday to my beautiful daughter who turned 17.
Wow how time flies. I can't even begin to express how proud I am of her.
It seems like only yesterday that I was in the hospital holding you in my
arms for the very first time.

Whitney-AMANDA-Jahavia


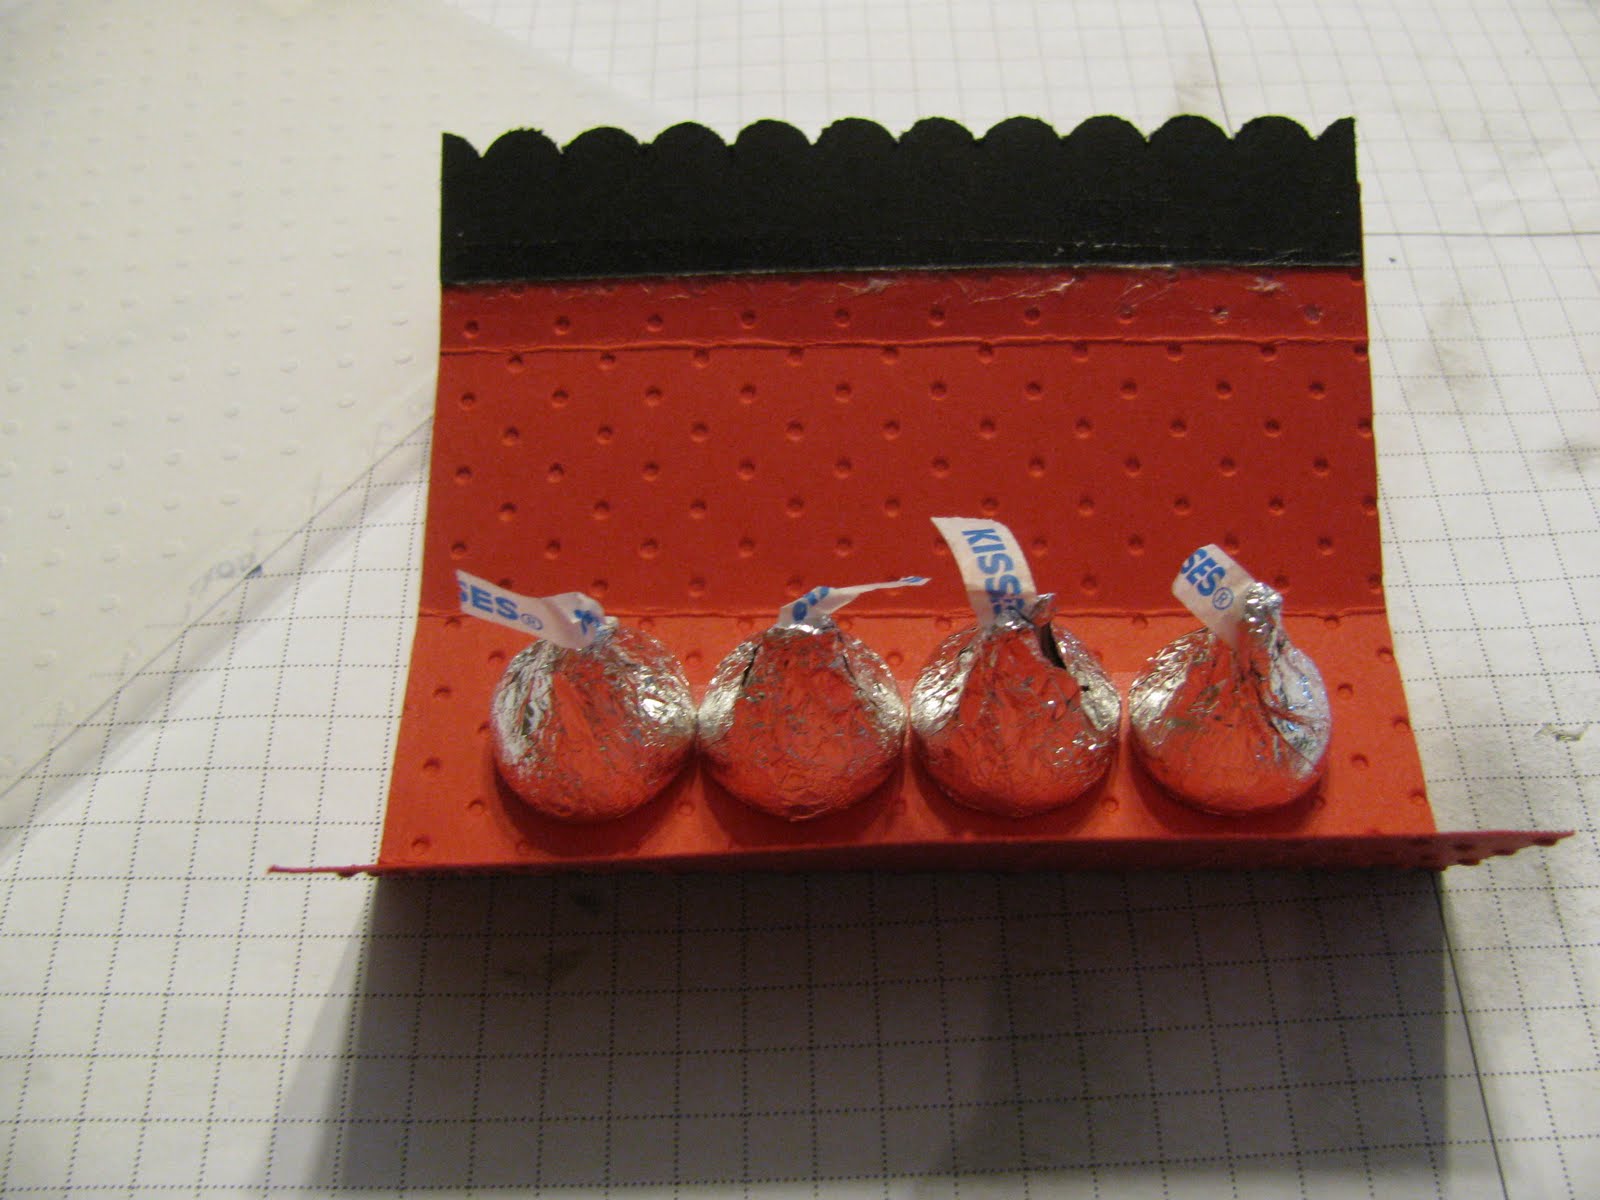
A dear friend of mine put together the most AWESOME ice cream cake for her.
With a whole bag of Hershey kisses. (her favorite)

The best surprise of hers was her friend from Oklahoma that she hasn't seen in 2-1/2yrs
-came to see her with a surprise visit, and spent the day with her.
Great reunion for a couple of besties. =)

Saturday, September 24, 2011

Sept. Scrappy Hour Page


# 122355 Domestic Goddess DSP

Thursday, September 15, 2011

sweet candy treat

Cut Card Stock 4-1/2 X 4-1/4
and score on the 4-1/2 side at 1-1/4,2-1/2,3-3/4

cut another sm strip at 1 X 4-1/4
scallop edge punch #119882
(any border punch will look good with this)

now it's time to run thru Big Shot #113439
using the perfect Polka Dots #117335
(you will want to make sure you have already
scored your paper before doing this step)

attach your 1 X 4-1/4 piece on the smaller flap,
run a strip of sticky strip down center before applying candy
(i used adhesive here but for a better hold sticky strip is ideal.)

.... now fold over - it should look like this.

I used one of my all time favorite stamp sets for front Oval All#113790
with matching punches ;)
scallop oval #119856
large oval # 119855
this truly would work for so many occasions,
just love it and of course especially love the
simpleness of it. =)

Tuesday, September 13, 2011

Shoe Box Swap

.... above are all the awesome swaps we made/got.
....bottom is my card for the swap~

Thursday, September 8, 2011

Happy Birthday Ryan!


My son 12th b-day,

and he LOVES his super heroes and this years choice is
.... (CAPTAIN AMERICA)


Tuesday, September 6, 2011

Frightful Sight Treats

Start with a 6 X 4-1/2 dsp
choose your favorite candy
to insert into middle and take adhesive and adhere on all four corners.

fold each flap over-(the long way side like you see below)


it should now look like a roll- smush each end flat before crimping

use the crimper #101618 $ 19.95 to crimp each end .

... love this lil gadget. =)
now it should look like this on each end.
all that's is left to do is decorate to your desire.


Wednesday, August 31, 2011

Sept. quilt square


Yep they just keep getting cuter each month. ;)

Monday, August 29, 2011

Rubber Stamping Technique-Masking

...the top left card is a idea from dawn griffen,
which inspired me to research masking. it's totally fun and simple; so give it a whirl.

Masking is a very cool rubber stamping technique that involves layering rubber stamp images to create depth. By rubber stamping images one on top of the other using masking you give the illusion that images are in front or behind each other.

SUPPLIES: ink, stamp set of your choice,scrap paper for the mask image.

1. Stamp Your First Image: For this demonstration I'm masking using a single rubber stamp. The first image you stamp will be the one in the foreground of your picture.
2. Create The Mask: Stamp the image onto a piece of scrap paper, cut nice and tight along the stamped image- this cut out now becomes your "mask"
3. Position The Mask: Place the mask directly over your first stamped image lining it up perfectly. This protects your first stamped image.
4. Stamp Your Second Image: ink up your rubber stamp (either the same or a different rubber stamp then the first).
5. Remove The Mask: Peel off the mask, and BAM! ...two overlapped images.

other options: is cutting out a shape to lay on top to sponge around image like you see on top.

Tuesday, August 23, 2011

Witches Hat Treat Holder

SUPPLIES: basic black cs, bonefolder, paper cutter/scorer, frightful sight dsp, stampin' glitter I used olive, 2-way glue pen, curly label punch, 1-1/4''striped grosgrain ribbon
______________________________________

This is so adorable and of yes super easy. I am defiantly making these treat holders for my sons class this year. Hope you enjoy!
Cut a 11-1/2 X 4


fold down the center, then open back up

take your ruler and score from center fold down to 2'' over
(which is center of cs)


now it should fold like this on each end

cut this piece at 1''X7''

to create your witches brim
trim from bottom corner up to your 2'' mark (do this on both sides.)

take your crop a dile the 3/16 side punch hole to weave the ribbon through


apply the brim to hat

cut another piece at 3/4'' X 3-1/2 ( you will trim off any extra)

punch out one using the curly label punch


take your glue smear evenly on to punch out, then apply glitter

trim hang off paper

after attaching the curly label punch I cut off a small square to put in the middle
(you can see n the picture below)
to get the shredded ribbon look I used my scissors and really
tour tugged and ripped.


before you tie her off, add your favorite spooky candy and
BAM you have a cool e o witches hat.

Petal Card Double Punch Perfect Treat


We learned this at mini convention. It's a perfect WS idea. So give it a whirl and see how much fun this is. Plus EASY and we all love EASY right!?!!

Supplies needed: your favorite DSP., (Im using Big Top Birthday) adhesive, scissors, ribbon, Petal Card Double Punch , SU window sheet or (transparencies you can find at local office
supply stores), candy of your choice, I forgot to add a crop a dial to this for a whole punch.

Cut at 4-1/2 X 4-1/2 and then score at 1'',2'',3'', 4''


apply adhesive to the 1/2'' side and fold together. You can use sticky strip but I found that adhesive held this together pretty well.

take your dsp and punch out two pieces
(this is for the top and bottom of candy treat box)

apply adhesive to only the flaps of your punched pieces and adhere one to the bottom.

this is what it should look like now, go ahead and add your candy.


now take your ribbon cut at 8'' so you know you have enough to tie your not. and go ahead and punch your whole in center of your other punch out.


slide ribbon through and tie. this is what it should look like.
now take your adhesive and apply on flaps and stick your top on.

To finish I also cut a thin 3/4'' or so X4-1/2 strip to wrap around the top and bottom to give a little extra support and completion to this candy box.


Here it is all finished. Wasn't it so super dee duper simple =) This works for any occasion you can even add tags to it to give it that final pop you are looking for.